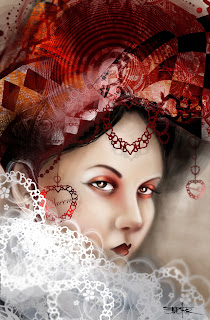
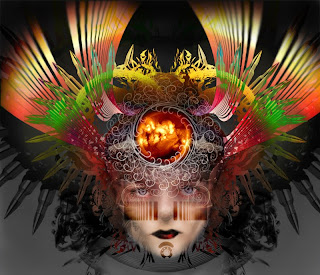
La Mascara 2009 ( The Mask ) Tutorial
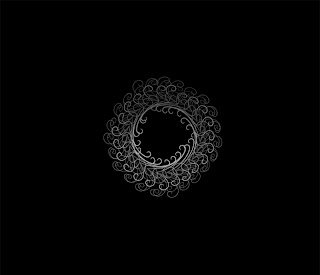
Step 1
I was working on making new brushes from existing
patterns with paths. So I have this brush that is a
flower pattern. I then made a new path and used the
Stroke path setting along with Brush parameters to
achieve a cylindrical pattern that I used for the painting.
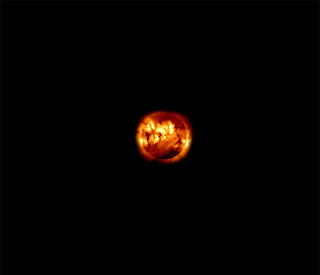
Step 2
I then used a photo from the internet of a Solar Flare, I have used this
image before, and I like the feel of the image. It has really great texture
and vibrant color.
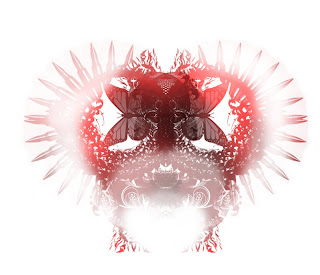
Step 3
In this layer I used a custom brush that I made by combining different custom
brushes. Using ( Overlay ) I then saw how the layer interacted with the others.
I used the Eraser tool and got rid of what I didn't want, so that the layers
underneath would blend. I tend to make copies of my layers and change the color
Value in order to get a gradient effect.
Step 4
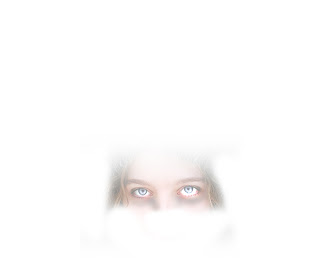
A Photo from the internet that I applied ( Overlay ) and Opacity at 50 %
Step 5
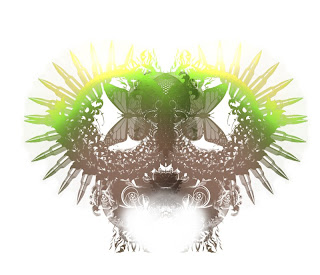
Copy of Layer three.
Step 6
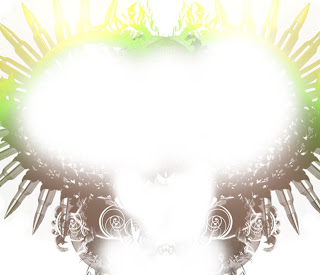
Layer three 150 % larger than the original ( Multiply ) setting.
Step 7
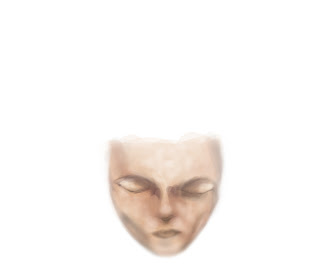
A face I painted using Photoshop, ( overlay ) setting
Step 8
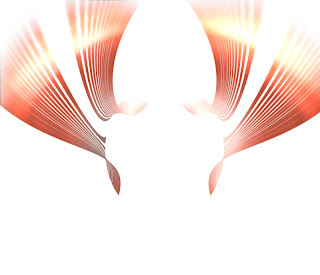
Its what I call a " Stream " basically its a straight line brush in which I
apply ( Warp ) to and play around with the shapes.
Step 9
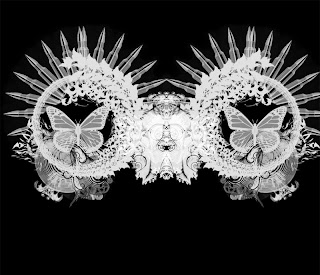
Custom Brush I mirrored to make the head dress Here the brush is White and the background
in Black but I did that for the sake of the tutorial. The brush or layer is transparent
due to the ( Overlay ) settings.
Step 10
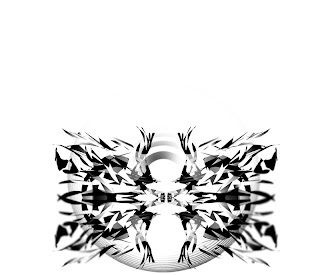
This a really neat custom brush that my son make using Alchemy. Alchemy is a sketching software
that allows you to create vector based forms using a tablet.
Step 11
A simple gradient that I overlaid on a Black background.
Subscribe to:
Comments (Atom)


